Tutorial 01: Create Your First Scene
Now that you have a project created, let’s make a simple 3D scene with lighting and geometry. By the end of this tutorial, you’ll have a lit scene with a cube you can see and manipulate.
Step 1: Create a Scene Asset
In the editor, find the Database panel on the left. This is where all your assets live.
- Create a folder - Right-click on Source and select New Group. Name it Scenes (press F2 to rename)
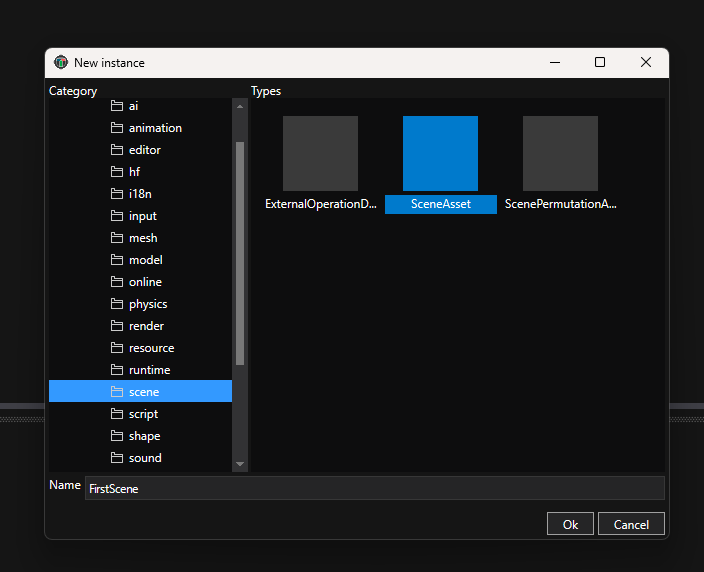
- Create a scene - Right-click the Scenes folder and select New Instance
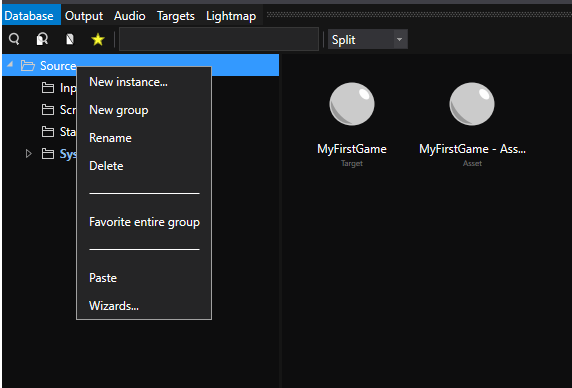
- Choose the type - Select Scene category on the left, then SceneAsset type in the content area
- Name it - Enter “FirstScene” and click OK
The scene asset now appears in the Database, but you haven’t opened it yet.
Step 2: Open the Scene Editor
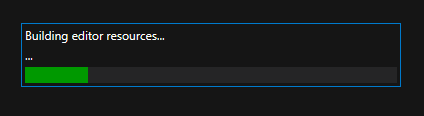
Double-click FirstScene in the Database. The first time you open a scene, the editor builds some internal assets. This takes a few seconds. You’ll see a build progress dialog:
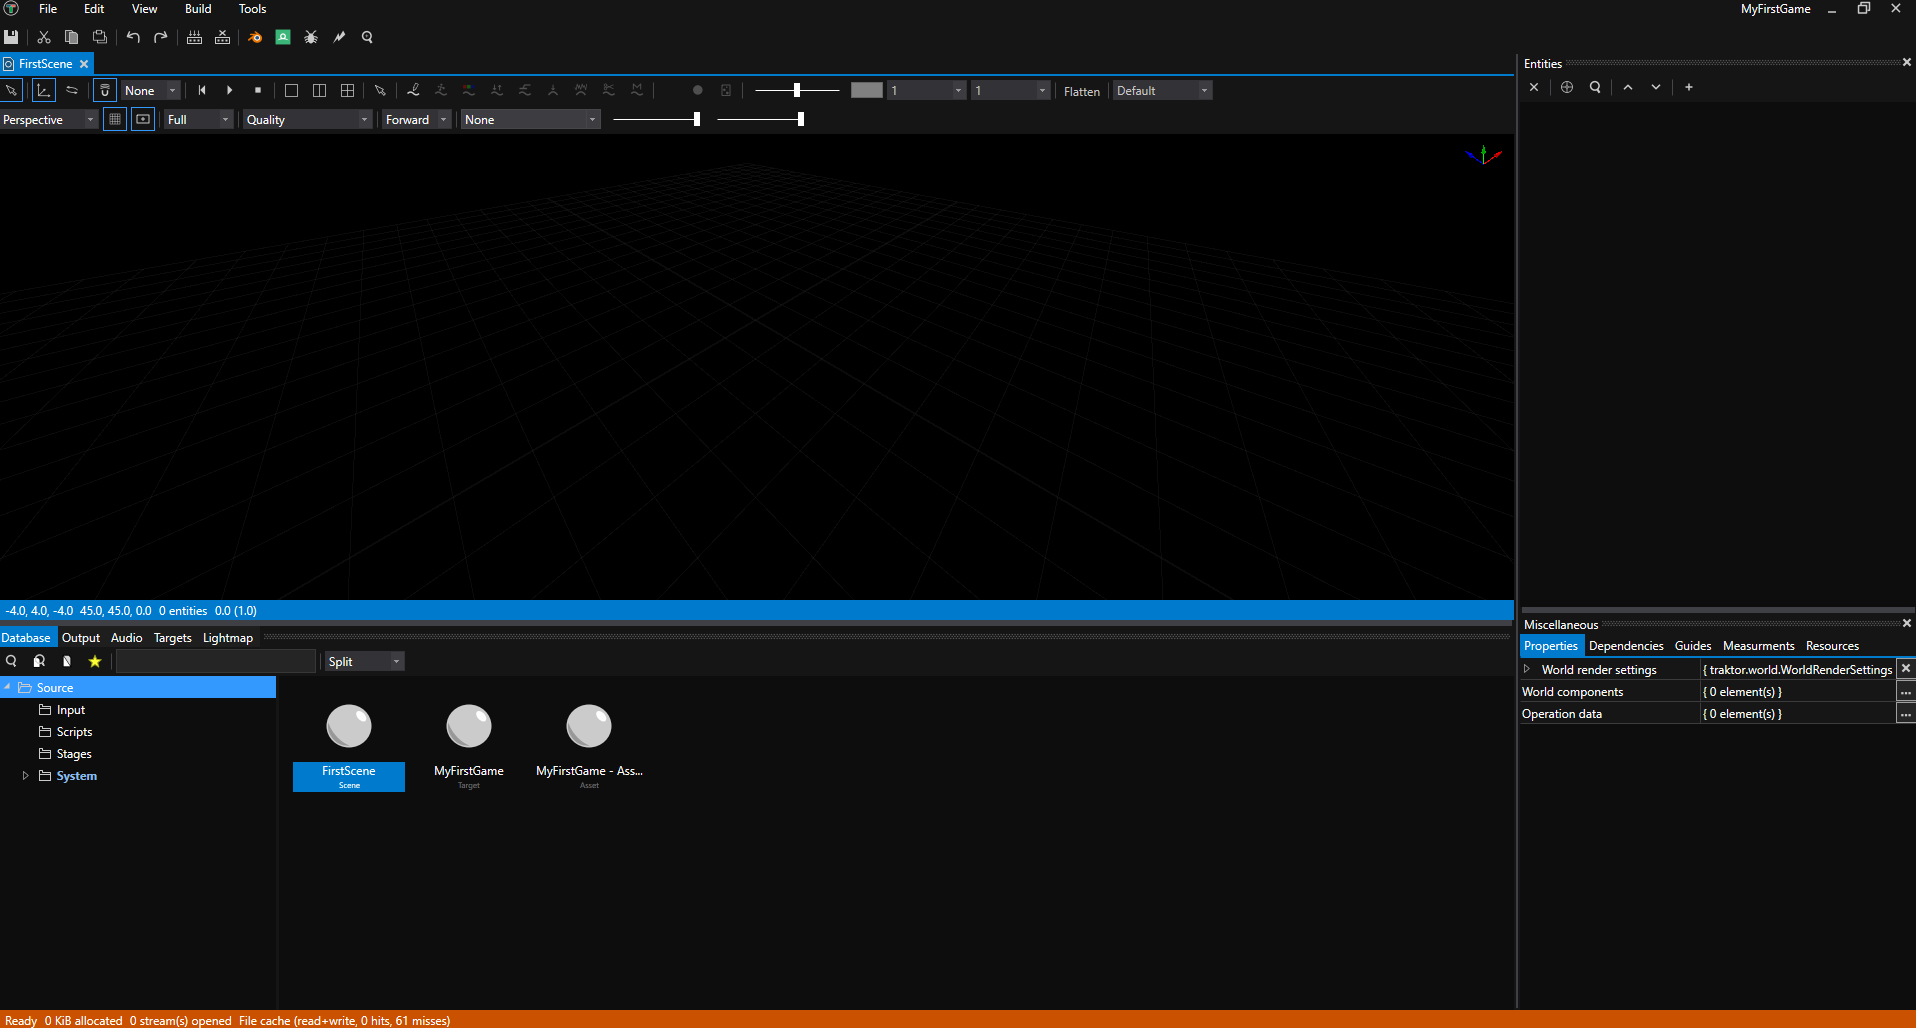
Once ready, the Scene Editor opens, showing an empty, dark viewport. Don’t worry, this is normal - there’s no lighting yet, so everything appears black.
Step 3: Add Lighting
A scene without lights is completely black. Let’s add basic lighting so you can see what you’re building.
Entities in Traktor are organized into layers for better organization. Let’s create an Environment layer for lights and atmosphere.
Create the Environment Layer

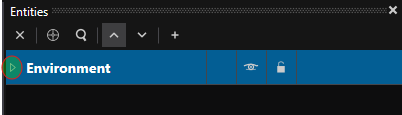
- Create a layer - In the Scene Editor’s Entities panel (on the right), right-click and select Add Layer
- Name it - Name the layer “Environment” (press F2 to rename)
Add a Directional Light (Sun)
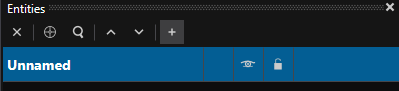
- Add an entity - Right-click the Environment layer and select Add Entity

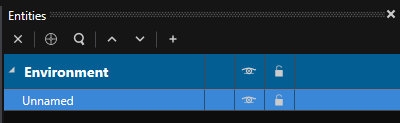
After adding the entity, the Environment layer may be collapsed by default. Click the arrow to expand it:
Once expanded, you’ll see the unnamed entity:
- Name it - Name the entity “Sun”
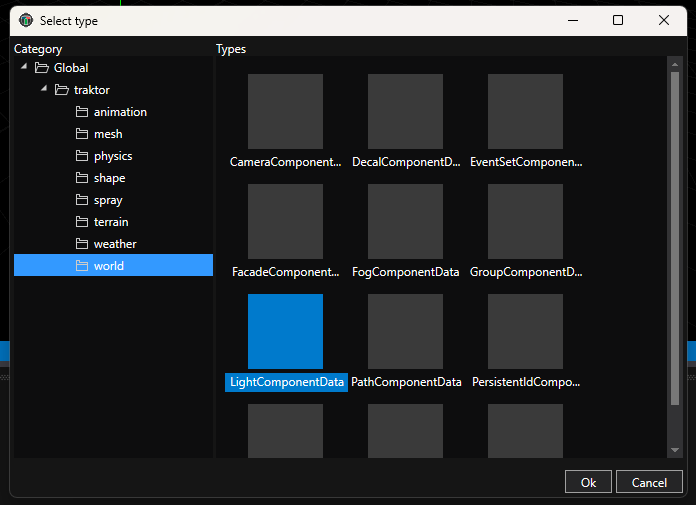
- Add the light component - Right-click the “Sun” entity and select Add Component

- Choose component type - In the component selection dialog, select World category on the left, then LightComponentData in the main content area, and click OK
- Configure the light type - Click on the “Sun” entity to select it. In the Properties panel below, expand the components section and click on LightComponentData to view its properties.
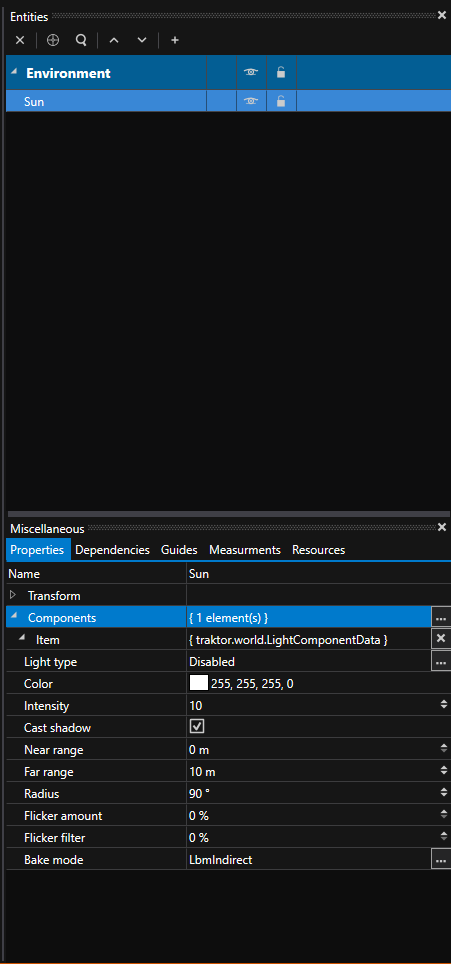
By default, the light type is set to Disabled. Click the dropdown menu and select Directional to create a sun-like light that illuminates the entire scene.
This directional light simulates sunlight - parallel light rays coming from a single direction, illuminating everything in your scene.
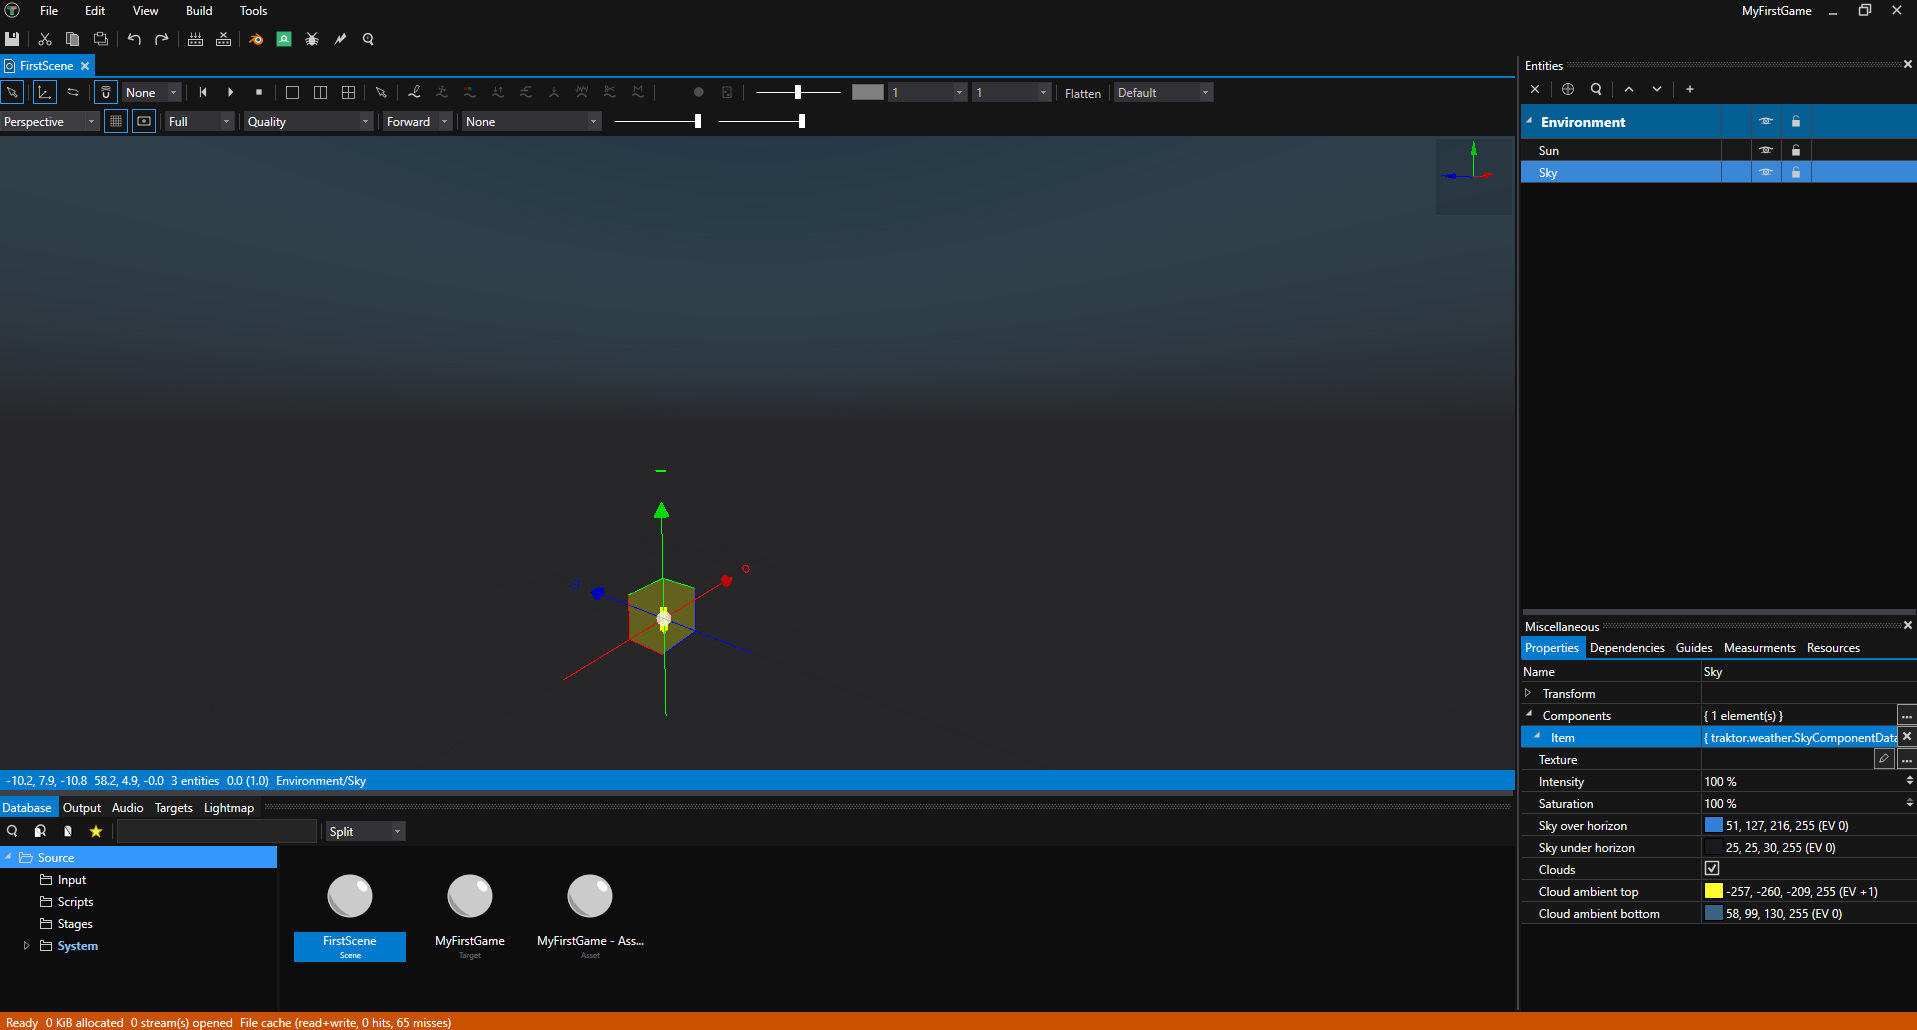
Add a Sky
- Add an entity - Right-click the Environment layer and select Add Entity
- Name it - Name the entity “Sky”
- Add the sky component - With “Sky” selected, click Add Component in the Properties panel
- Choose component type - Select SkyComponentData under the weather category.
The Sky component adds atmospheric rendering - you’ll see a gradient sky in the viewport that provides ambient lighting and a visible horizon.
Your scene should now be visible with basic lighting. You’ll see the sky gradient and any objects you add will be properly lit by the sun.
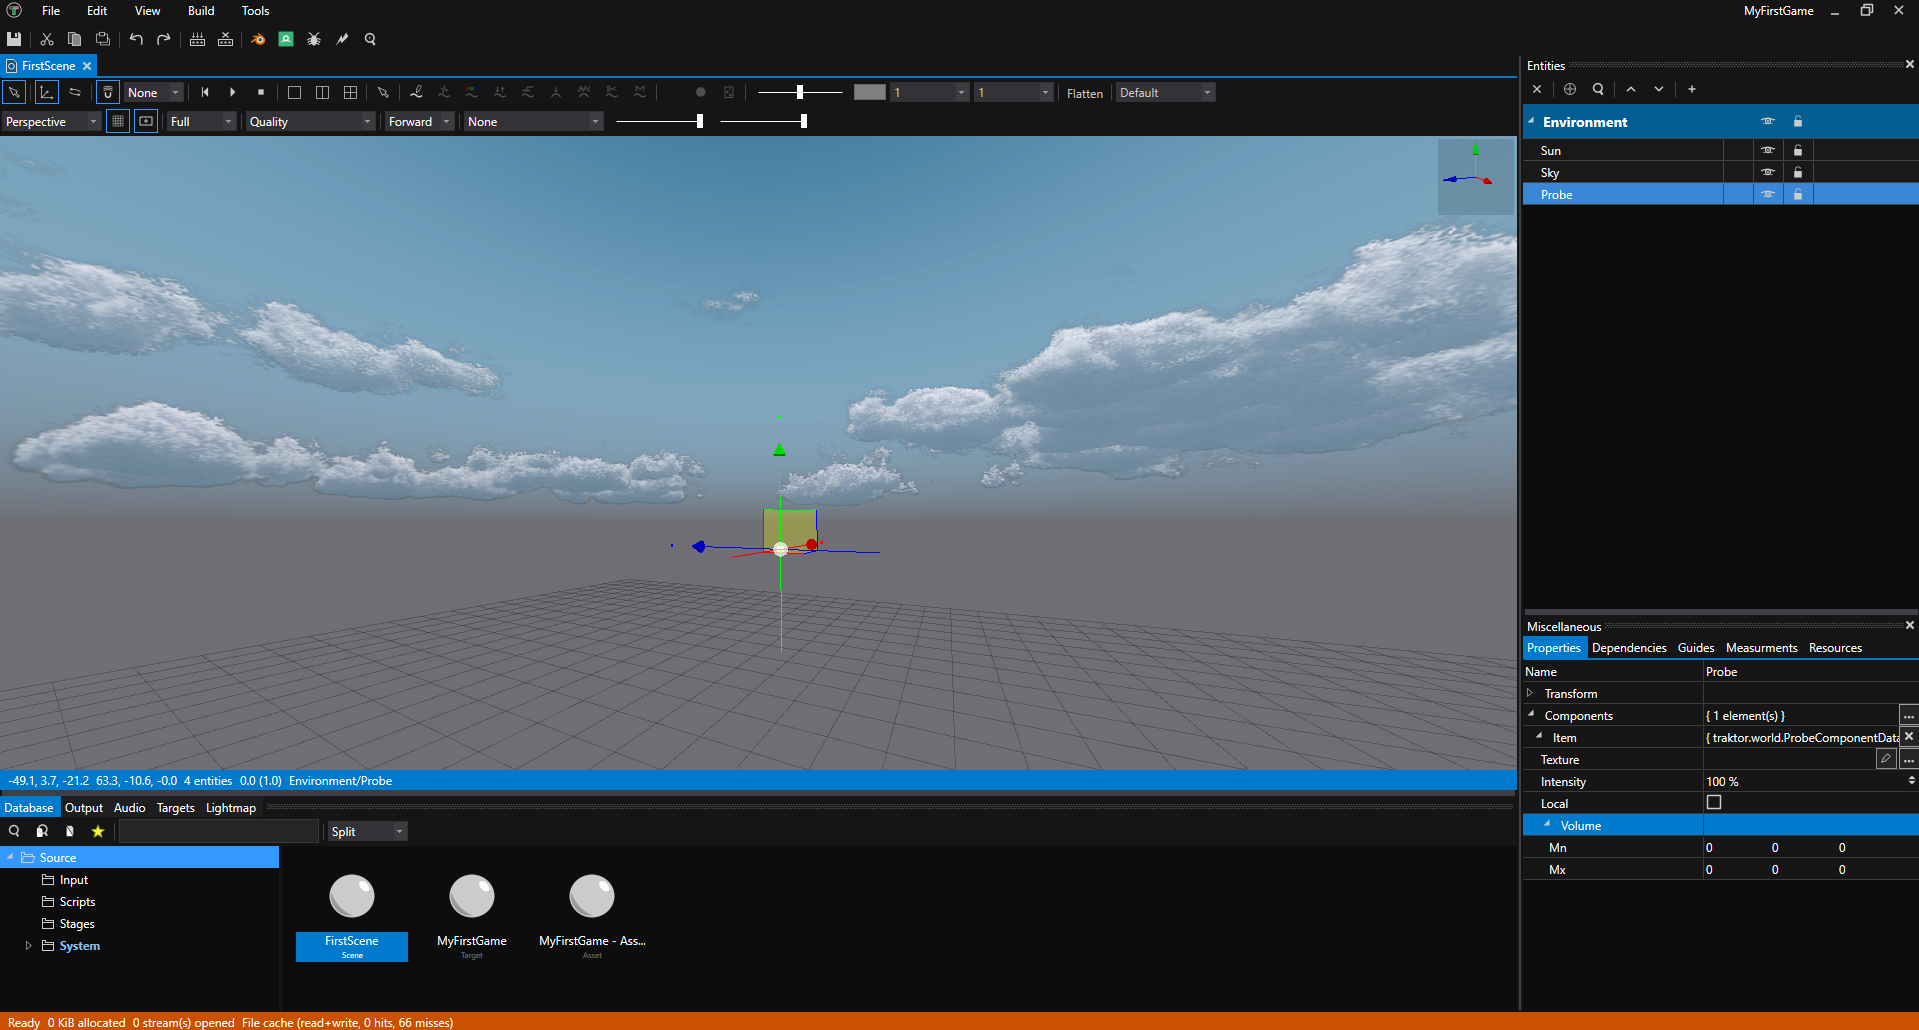
(Optional) Add an Environment Probe
For more realistic reflections and improved lighting quality, you can add an environment probe:
- Add an entity - Right-click the Environment layer and select Add Entity
- Name it - Name the entity “Probe”
- Add the component - Right-click the “Probe” entity and select Add Component, then choose ProbeComponentData under the world category.
With the environment probe added, you’ll notice significantly better ambient lighting and reflections in your scene:
Step 4: Add Geometry with a Primitive Mesh
Traktor includes primitive meshes - pre-made basic shapes like cubes, spheres, cylinders, and more. These are perfect for prototyping and learning the basics without needing to import 3D models.
Let’s add a simple cube to your scene.
Create the Objects Layer
- Create a layer - Right-click in the Entities panel and select Add Layer
- Name it - Name the layer “Objects”
Add a Cube Entity
- Add an entity - Right-click the Objects layer and select Add Entity
- Name it - Name the entity “Cube”
- Add Mesh Component - Right-click the “Cube” entity and select Add Component, then choose MeshComponentData under the mesh category
Select the Cube Mesh
Now you need to tell the mesh component which mesh to display:
- Expand the component - In the Properties panel, click on MeshComponentData to expand its properties
- Browse for mesh - Click the Browse button next to the Mesh property
- Navigate to primitives - In the Database browser that opens, expand Source, then expand System, then expand Scene, and finally select the Meshes group
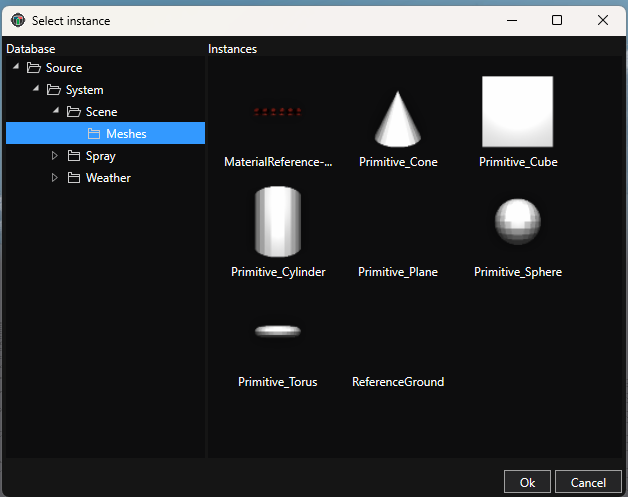
- Select Cube - Choose Cube from the available primitive meshes and click OK
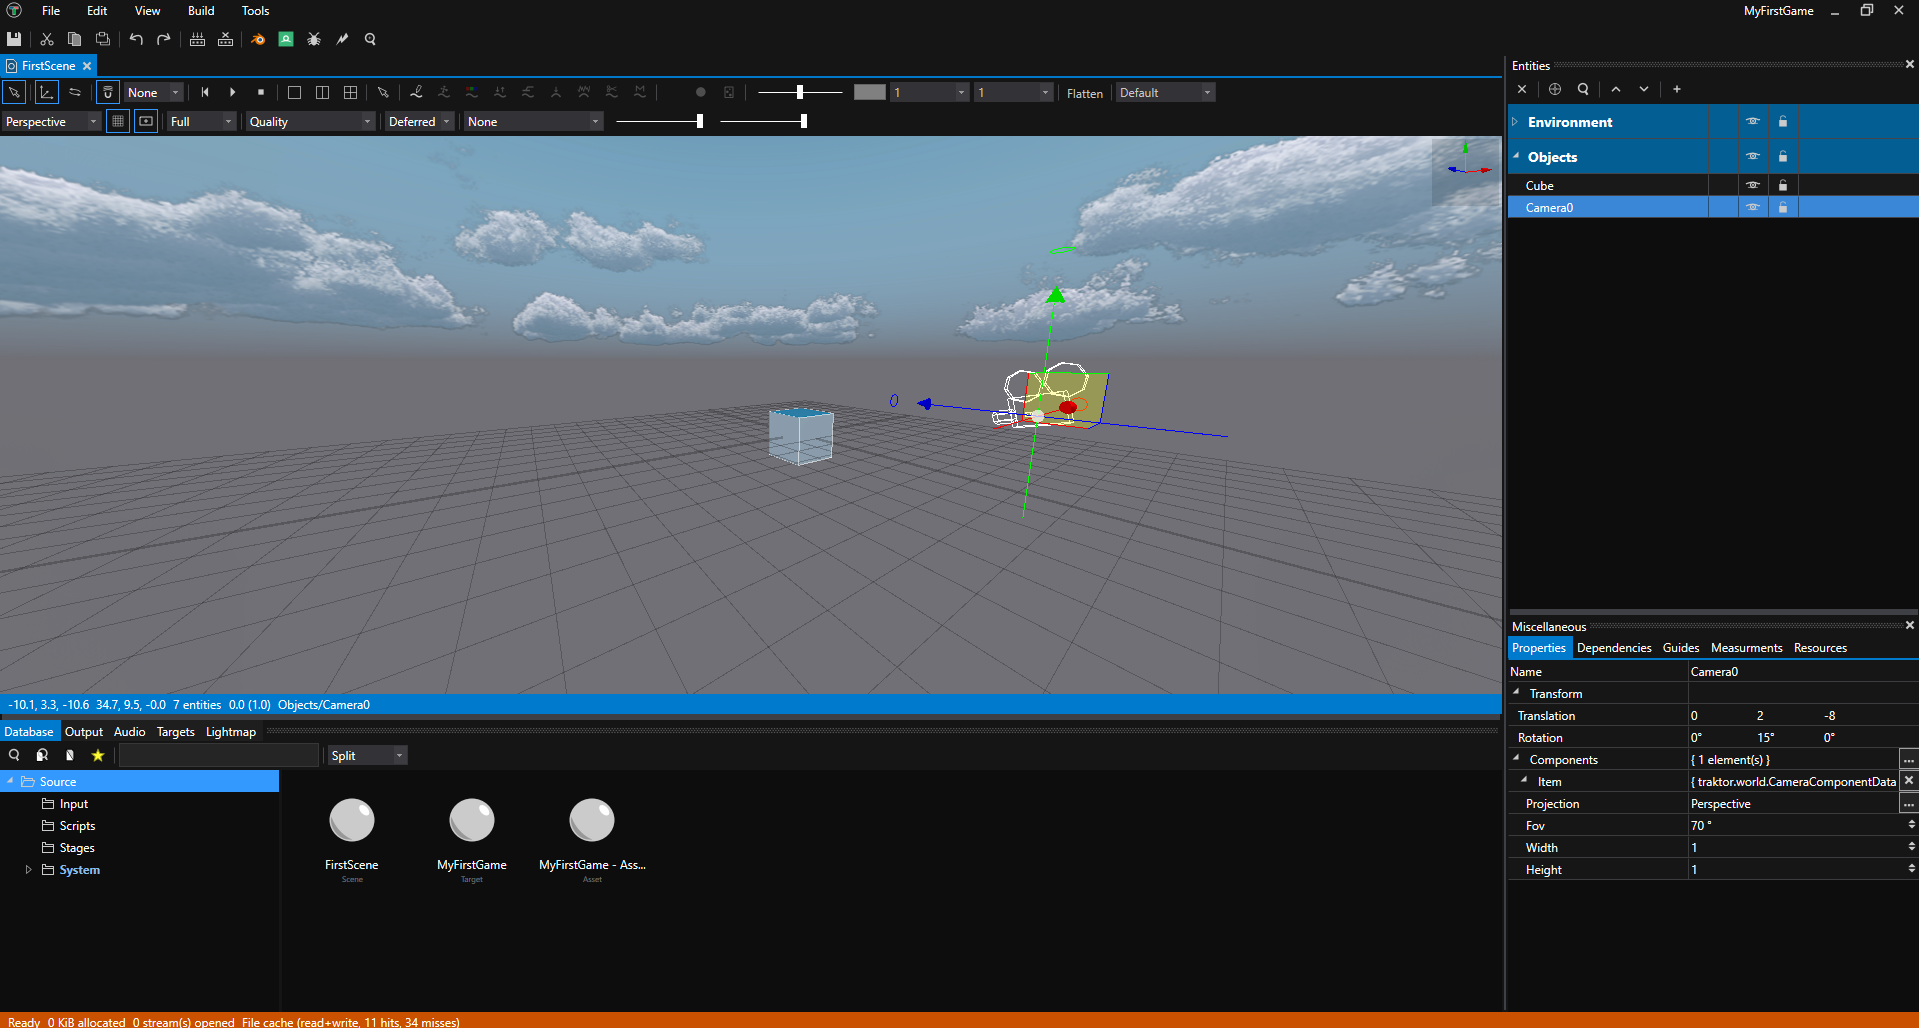
You should now see a cube in your scene!
Available Primitive Meshes
Traktor provides several primitive meshes you can use in the Source/System/Scene/Meshes folder:
- Cube - A cube/box shape
- Sphere - A sphere
- Cylinder - A cylinder
- Cone - A cone
- Plane - A flat plane
- Torus - A donut/torus shape
You can add more entities with mesh components and select different primitive meshes to build up your scene.
Add a Camera
Every scene needs a camera to define the viewpoint. By convention, Traktor uses a camera named Camera0 as the default camera.
- Add an entity - Right-click the Objects layer and select Add Entity
- Name it - Name the entity “Camera0” (note the zero at the end - this is important!)
- Add Camera Component - Right-click the “Camera0” entity and select Add Component, then choose CameraComponentData under the world category
Configure the Camera
The camera needs a few adjustments to work properly:
- Change projection - With “Camera0” selected, expand CameraComponentData in the Properties panel. Find the Projection property and change it from Orthographic to Perspective
- Position the camera - In the Camera0 entity’s transform properties (at the top of the Properties panel):
- Set Translation to
X: 0, Y: 2, Z: -8 - Set Rotation to
X: 0, Y: 15, Z: 0
- Set Translation to
This positions the camera back from the cube and slightly above, with a gentle downward angle for a nice view of your scene.
View Through the Camera
To see what your scene will look like at runtime, you can switch the Scene Editor view to use the Camera:
- Switch view mode - In the Scene Editor toolbar at the top of the viewport, click the view dropdown (currently showing “Perspective”)
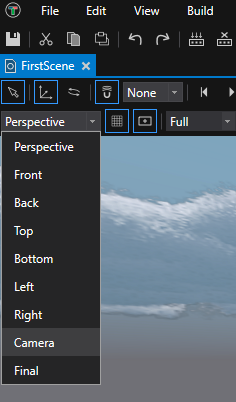
- Select Camera - Choose “Camera” from the dropdown menu
You’ll now see exactly what the player will see when the game runs, using your Camera0 viewpoint:
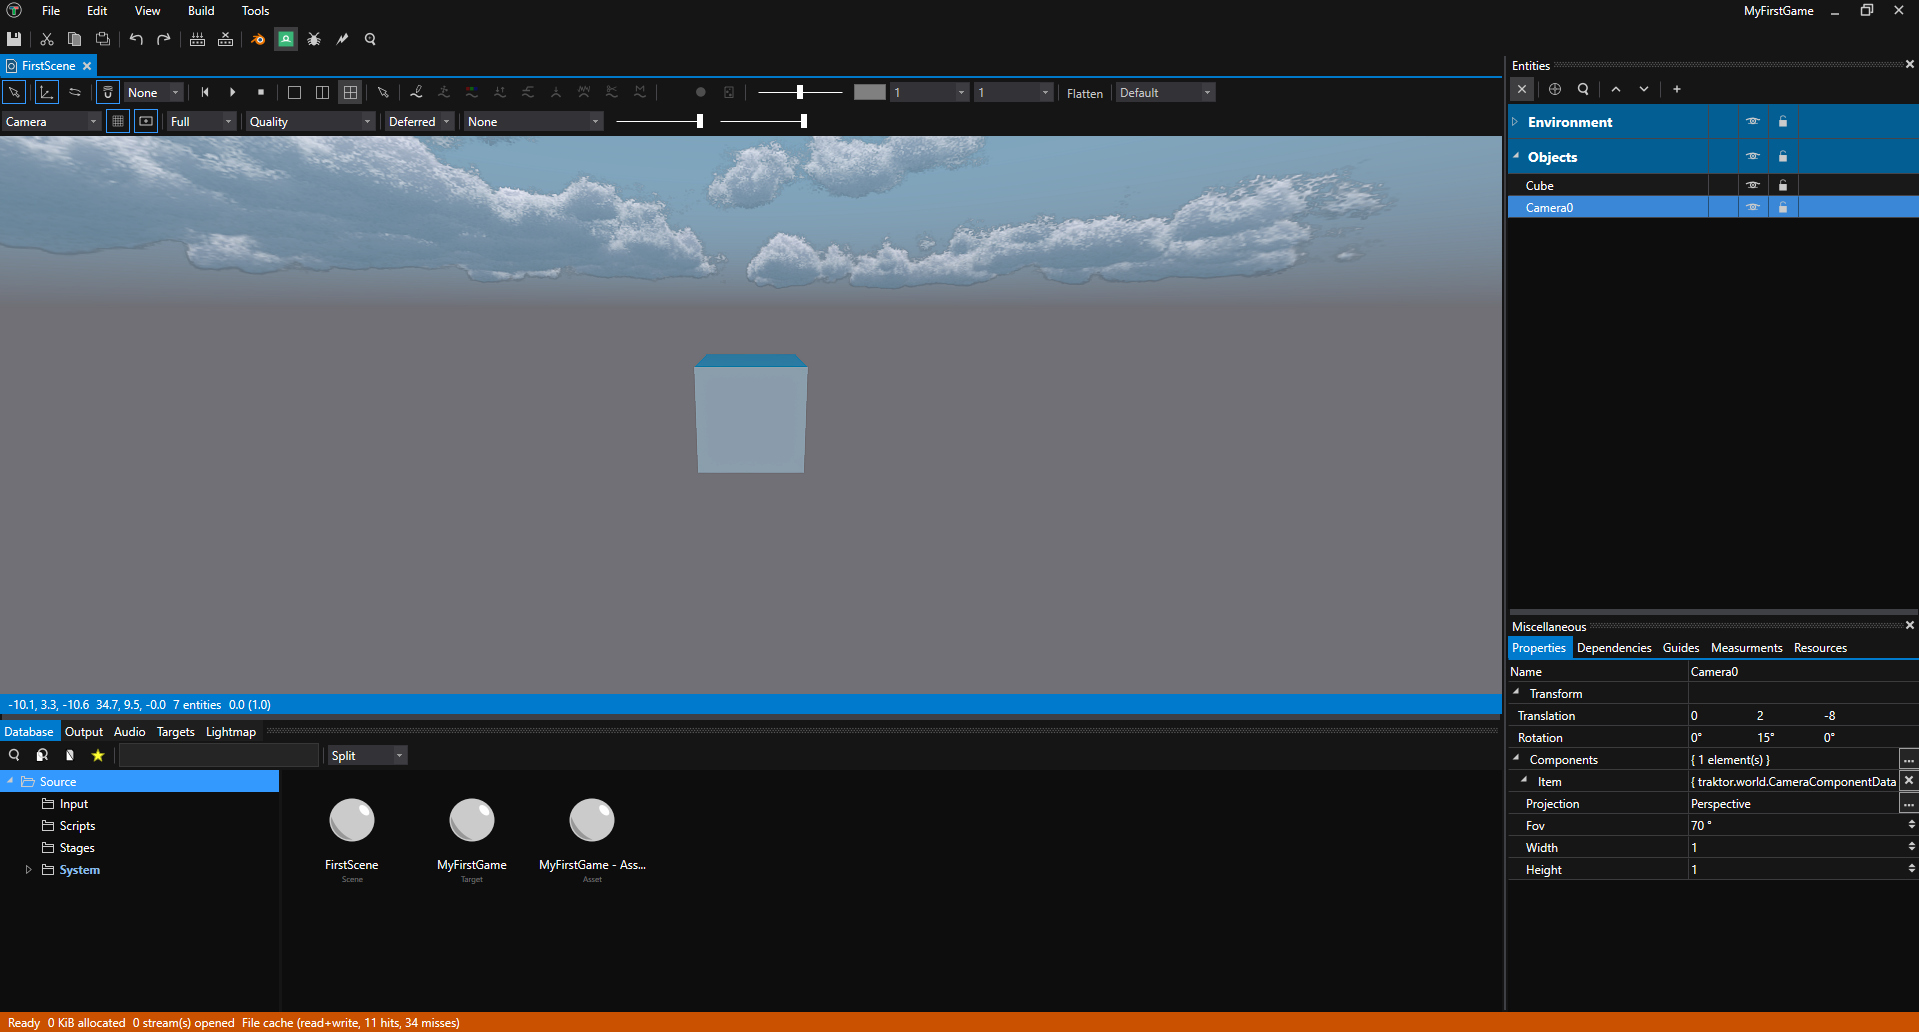
This is the view that will be rendered when you run your scene. You can switch back to “Perspective” at any time to return to the free-moving editor camera.
Navigating the Scene
Use these controls to move around your scene:
- Hold Ctrl + Left Mouse Button - Move the camera
- Hold Ctrl + Right Mouse Button - Rotate the camera
- Mouse Wheel - Zoom in/out
- F Key - Frame the selected object in the viewport
Try selecting the cube and pressing F to center it in your view, then navigate around it using the mouse controls.
What’s Next?
Congratulations! You’ve created your first lit 3D scene with geometry and a camera. Now let’s make it interactive!
Continue to Tutorial 02: Add Your First Script to write Lua code that brings your cube to life with movement.
More Ideas
Experiment with primitives - Add more entities with mesh components and try different primitive meshes like spheres, cylinders, cones, or torus shapes. Position them around your scene to build interesting compositions.
Learn the editor - Read the Editor Documentation to understand the Database, Pipeline, Scene Editor tools, and deployment.
Explore the engine - Dive into the Engine Documentation to learn about rendering, physics, audio, animation, and more.
See Also
- Scene Editor - Detailed scene editing guide
- Database - Asset management
- Scripting - Adding behavior with Lua
- World System - Understanding entities and components